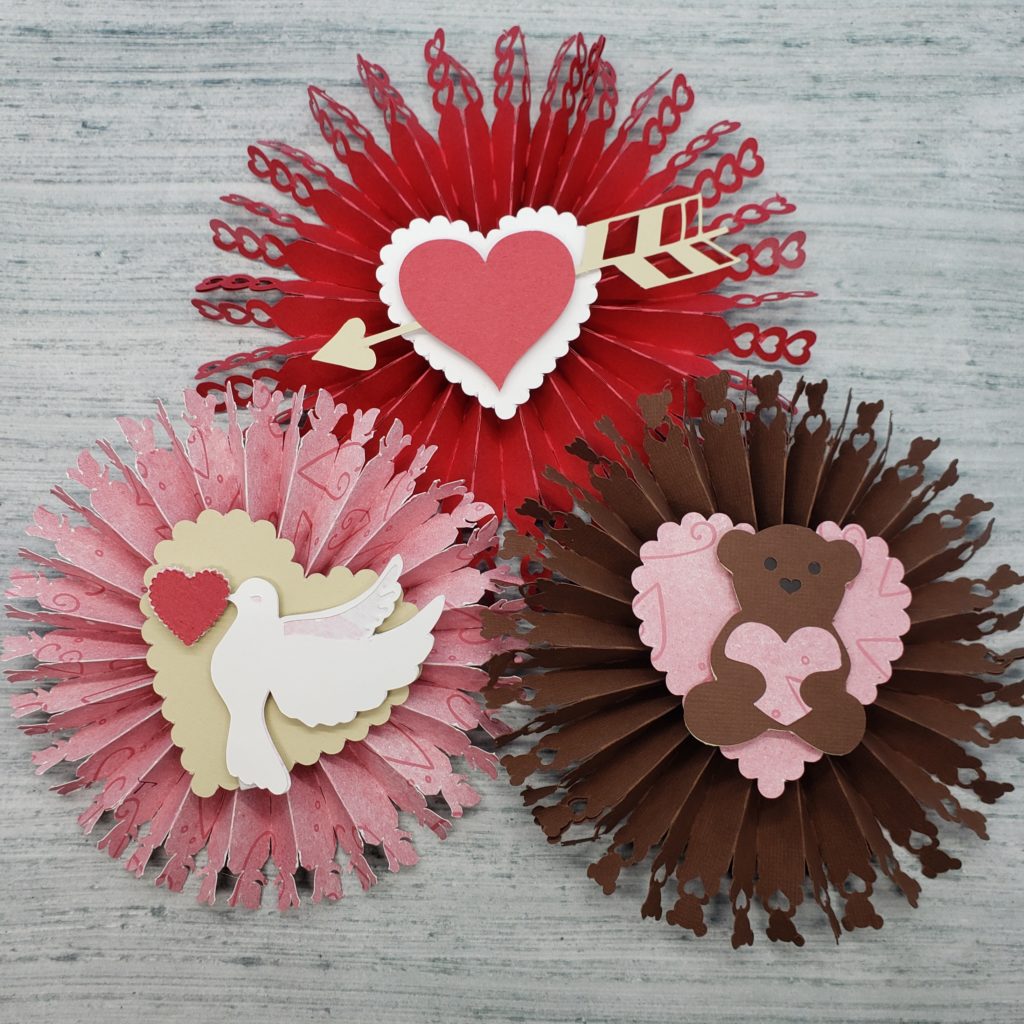
Three Valentine Rosettes – Tutorial
Hey everyone!
I am Monica and back at it again to do so more crafting and tutorials. I was so super excited to show you all how easy it was to make these Valentine’s Rosettes! I made three brand new ones for the new year.
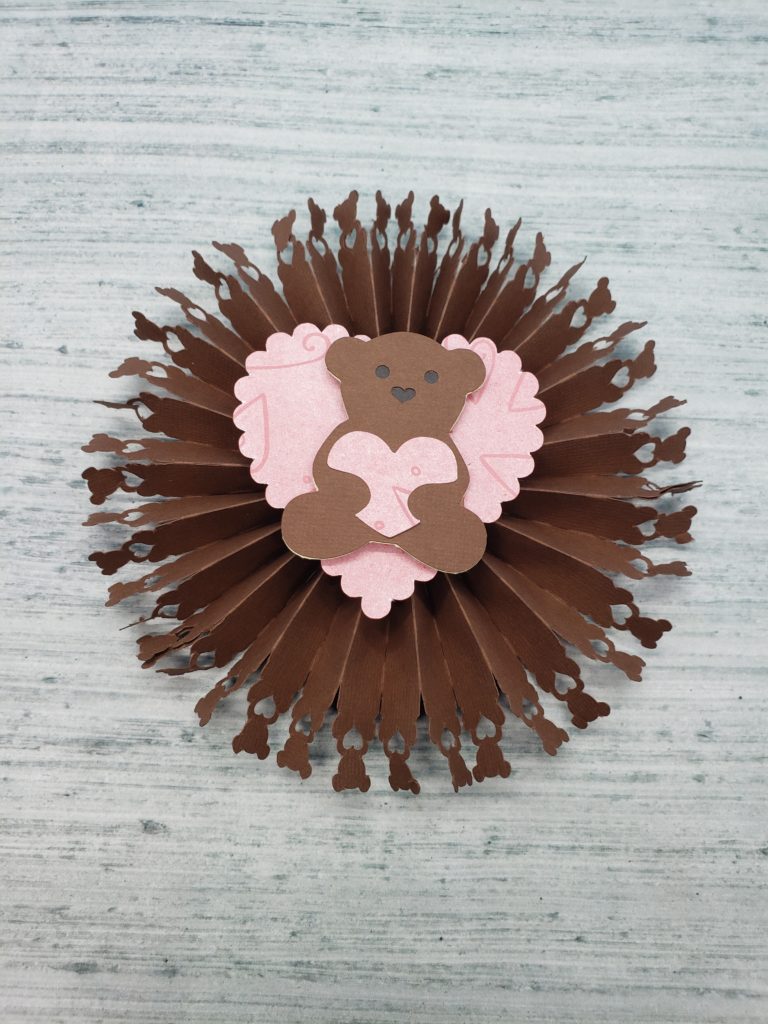
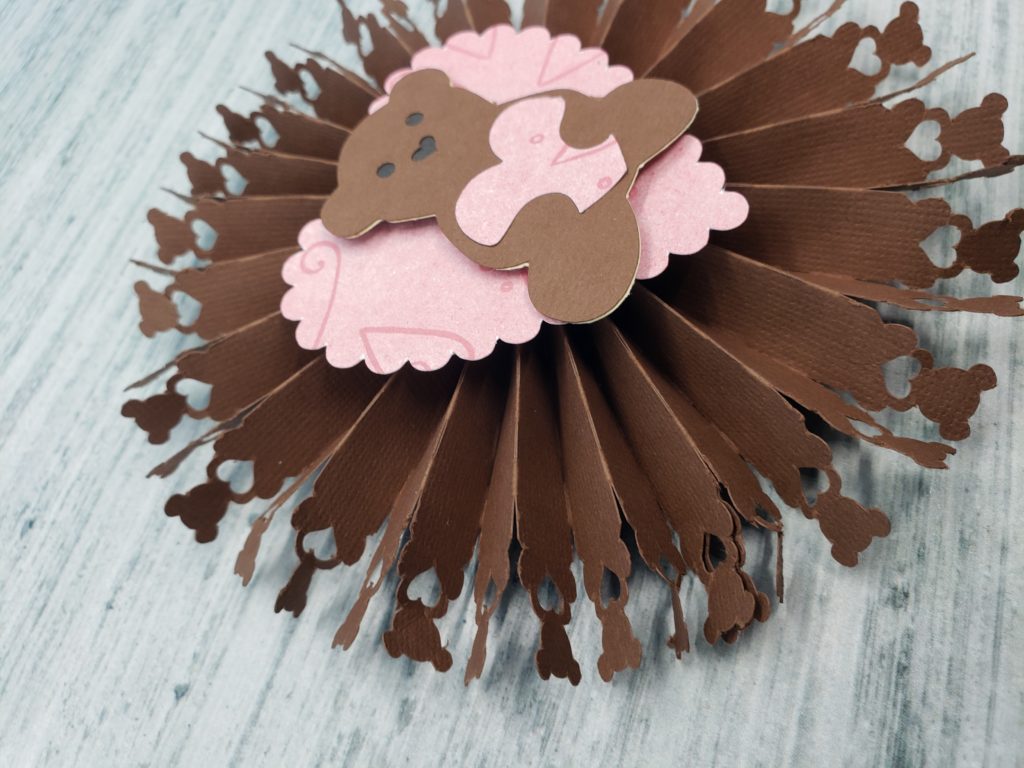
I made this adorable Rosette – Bear SVG that could be used for a baby shower as well.
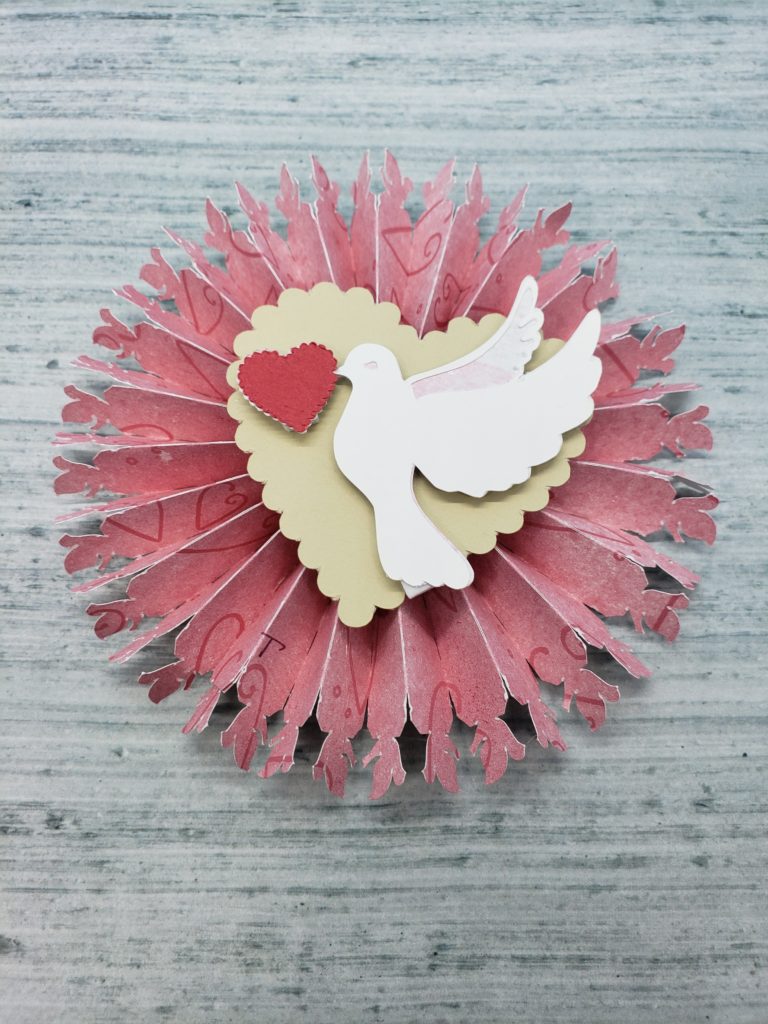
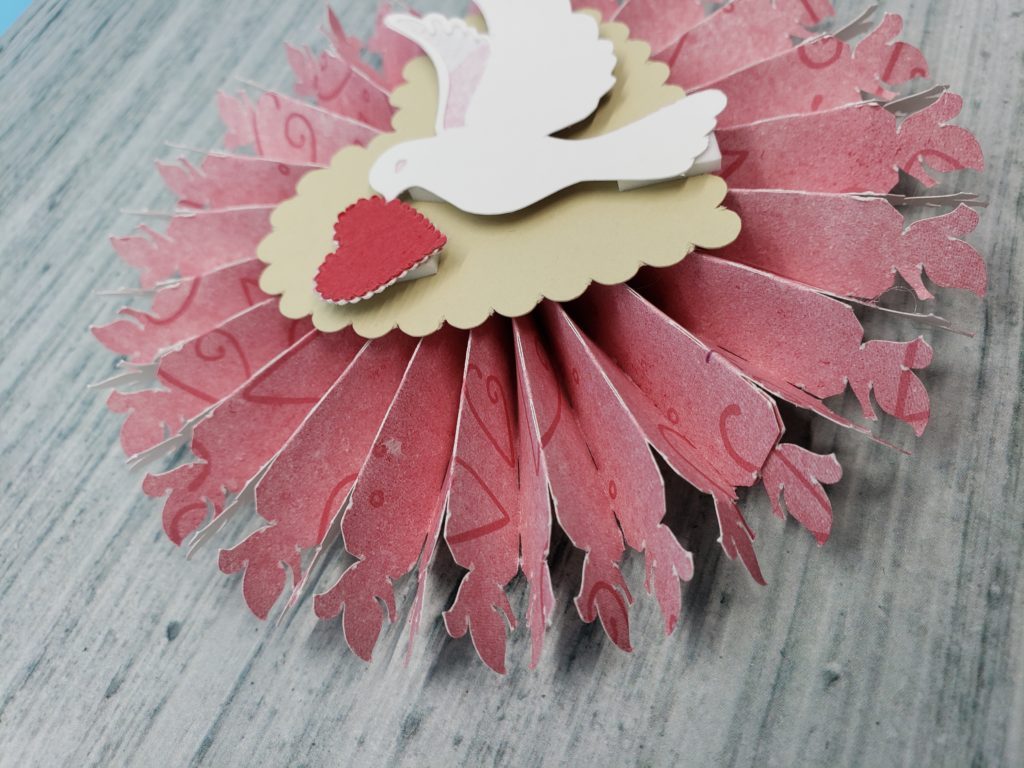
Rosette – Love Note SVG that I could also see be used at Christmas.
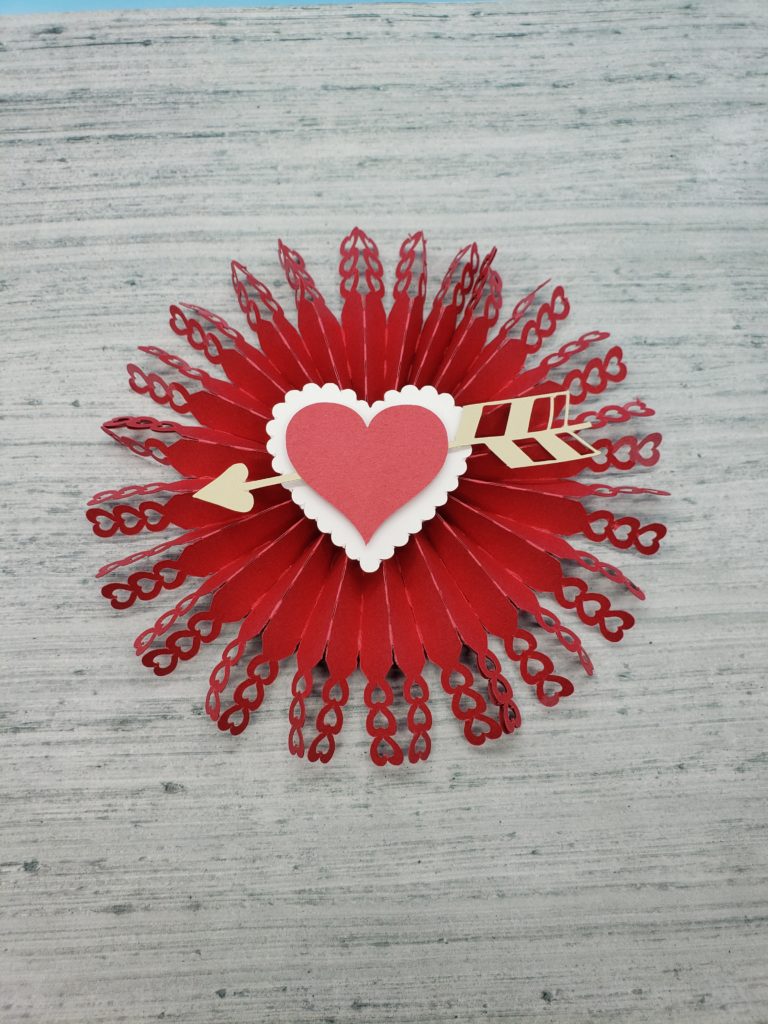
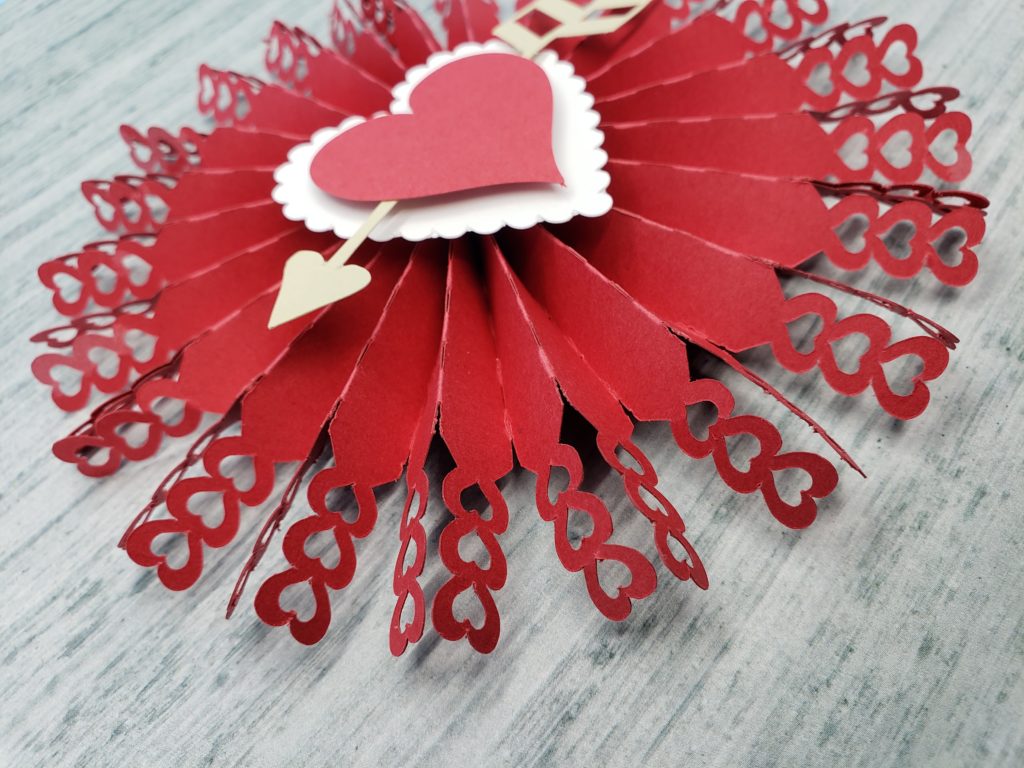
Last but not least Rosette – Heart SVG which melts my heart.
MATERIALS:
- Cutting Machine (one that uses SVG)
- Cutting Mat
- Rosette – Hearts SVG
- Rosette – Bear SVG
- Rosette – Love Note SVG
- 8.5″ x 11″ cardstock & pattern paper
- Red
- White
- Dark Brown
- Light Brown
- Black
- Pattern
- Hot Glue Gun
- Double-Sided Adhesive or Wet Glue
- Poky Tool
- Foam Dots
How To Make Paper Rosettes
I first made the Rosette – Hearts SVG so a lot of the instructions will be using this SVG. Open your cutting software and resize the SVG to your preferred size. If you cut the rosette strips at 7.937″x 2.875′ your rosette will bloom into a 6″x6″.
Select which image you will cut out first then submit your 8.5″x11″ paper into your mat. Then cut out your image. I choose to cut out my folding stirps first.
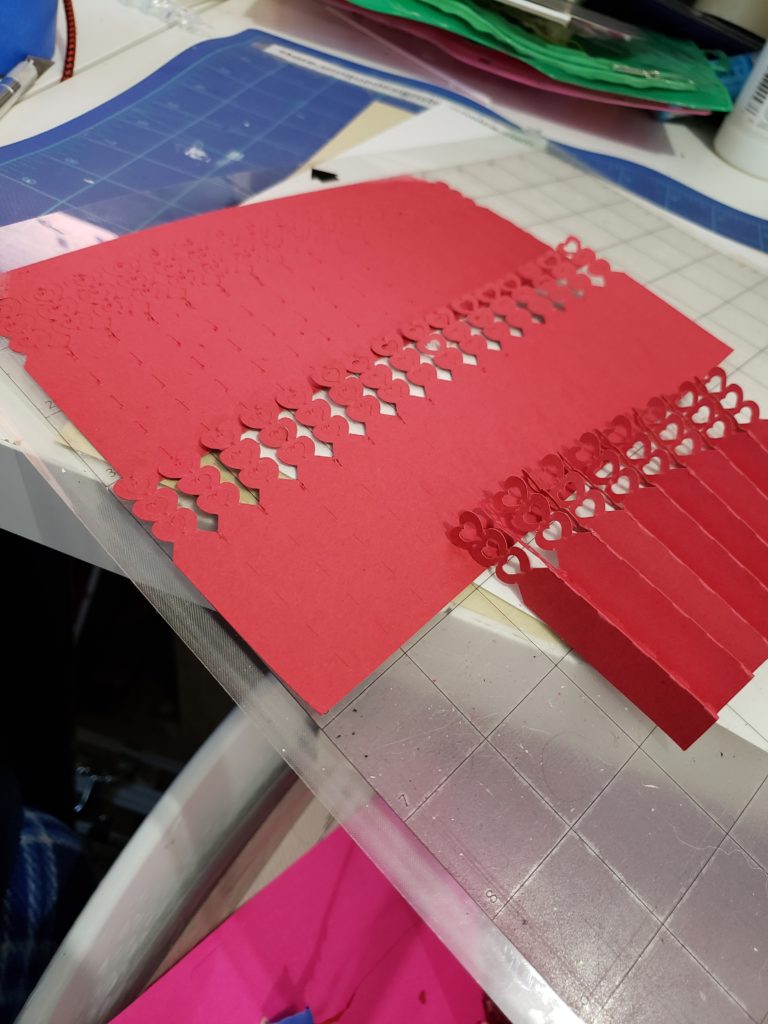
After I removed all my pieces out I started to weed all the little hearts. You can save them if you wish and added them to a shaker card later.
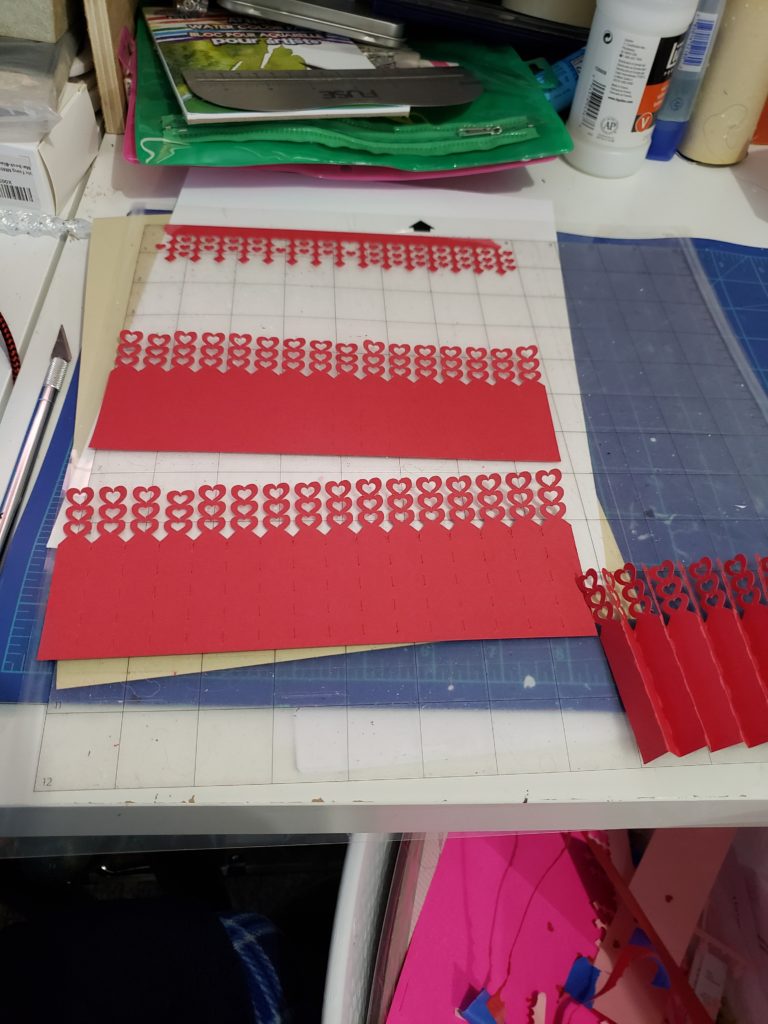
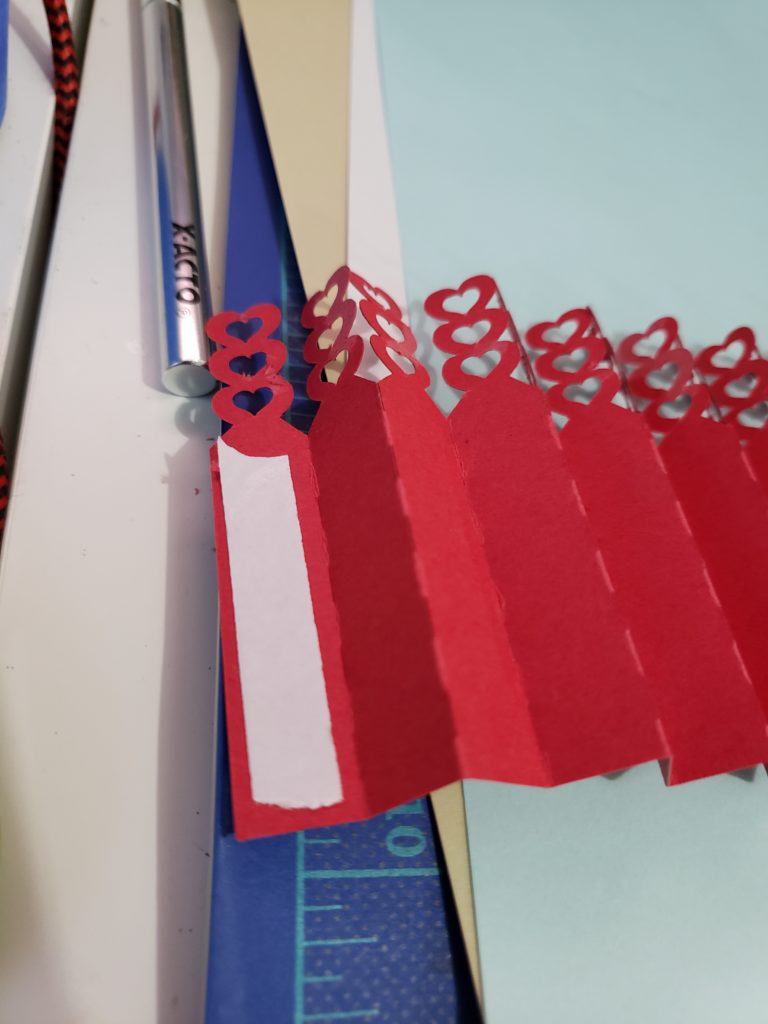
I then started to fold all my pieces. I wanted to make sure each one overlaps the other like a chain. I added double-sided tape to keep the pieces together. If you want a longer bond I would recommend wet glue. As double-sided tape never dries.
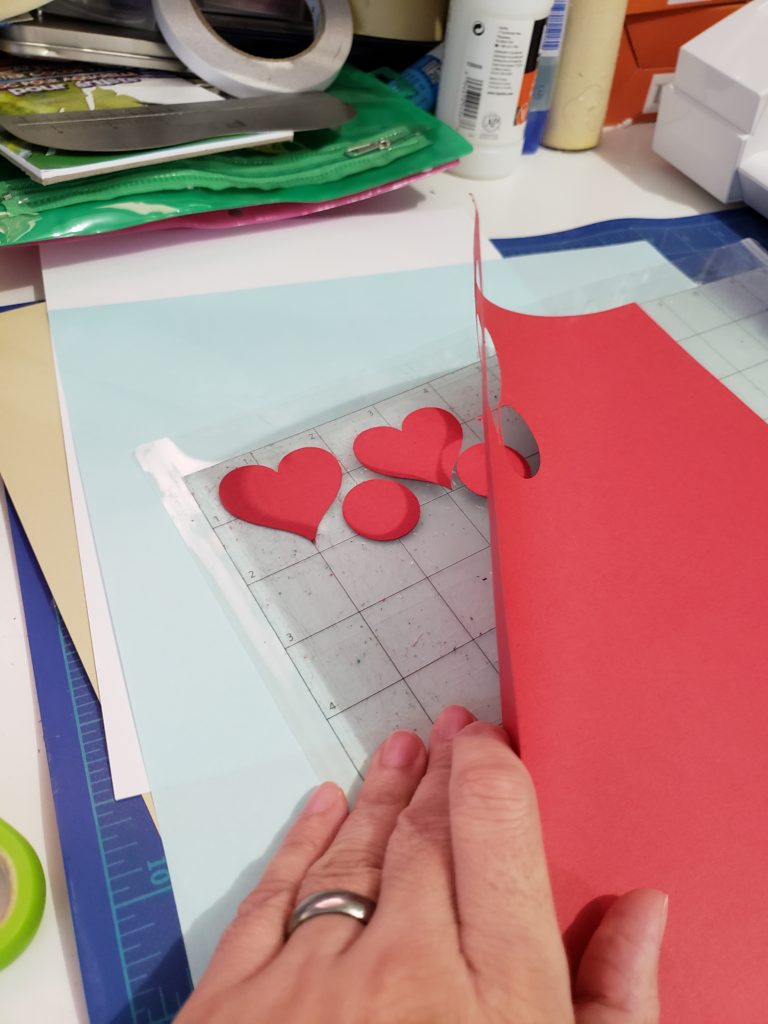
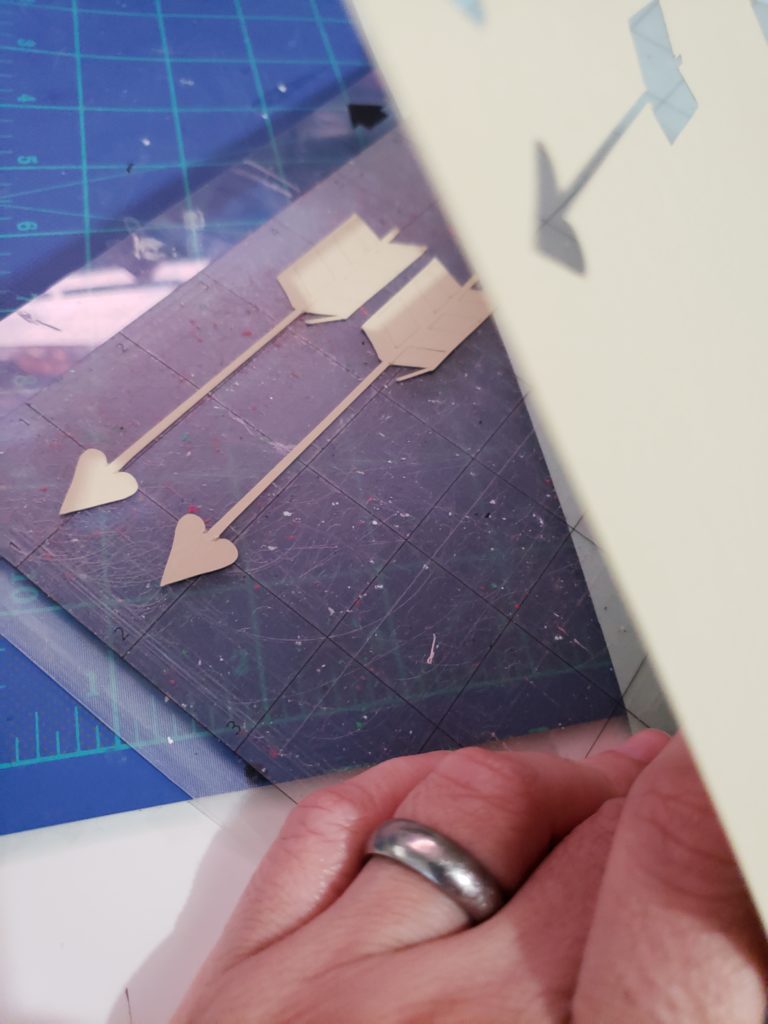
Next, I cut out the rest of the file in order to have the pieces necessary for the next steps
After every piece had been cut I went on the next step. I grabbed the folded strips that were in a line than I took it and closed the link by sticking it to itself.
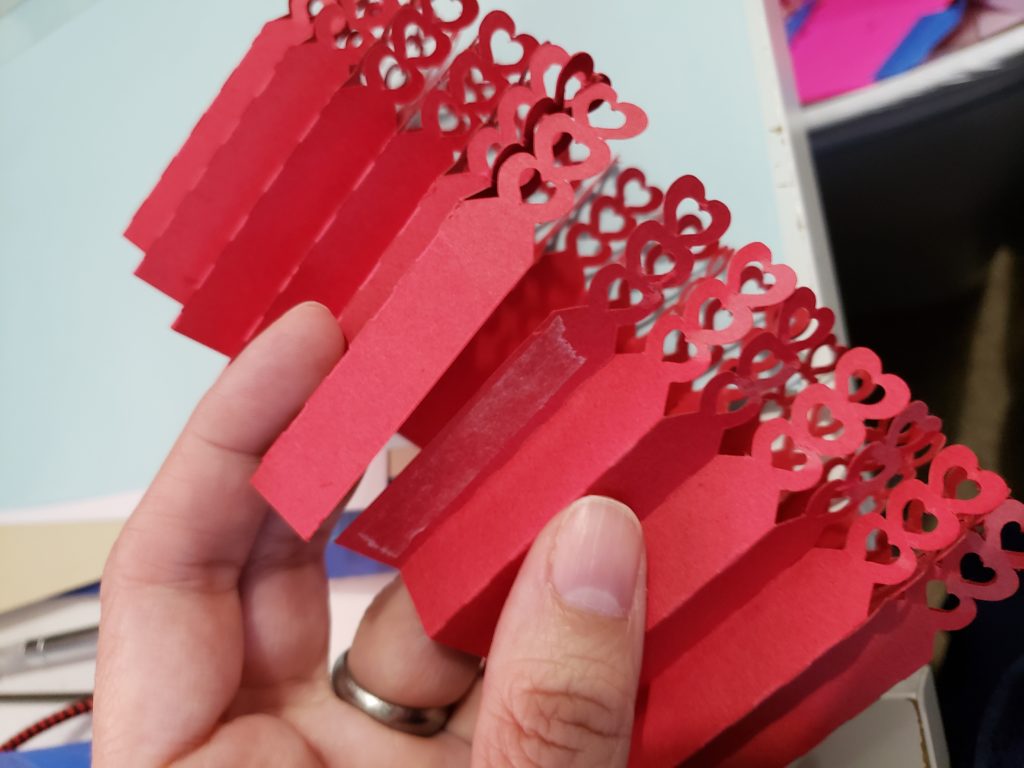
Using both hands I flipped the solid point in and the hearts sticking out and lay it flat.
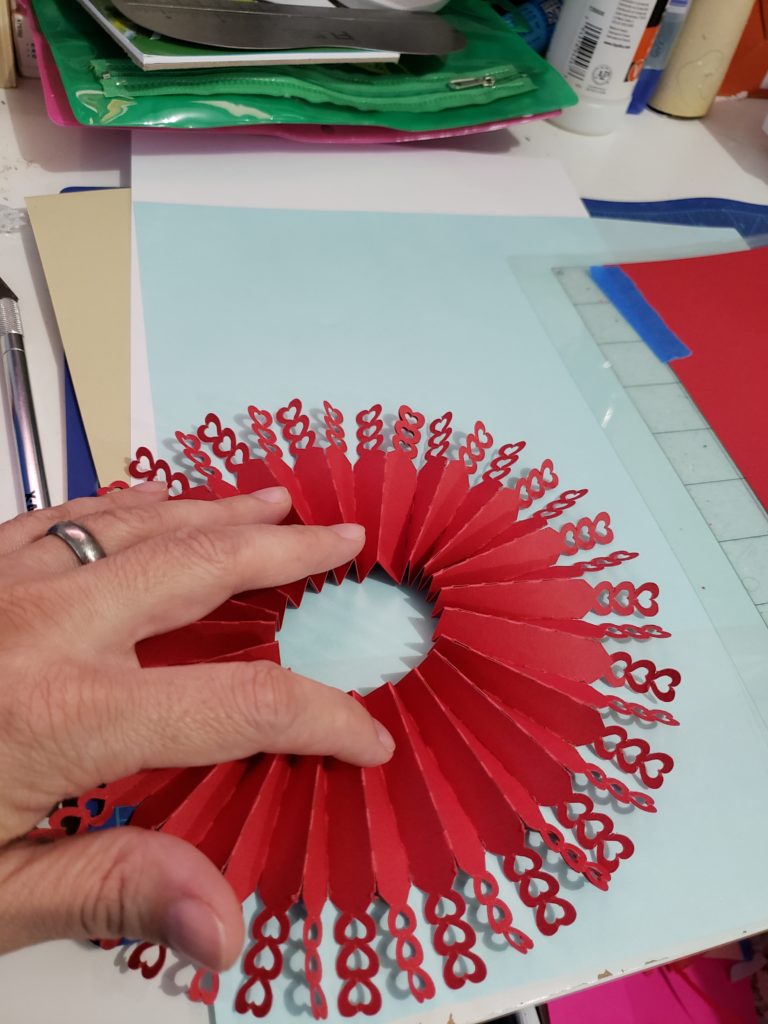
Scrunch your paper as close to the center as you can. Try to make the whole tiny.
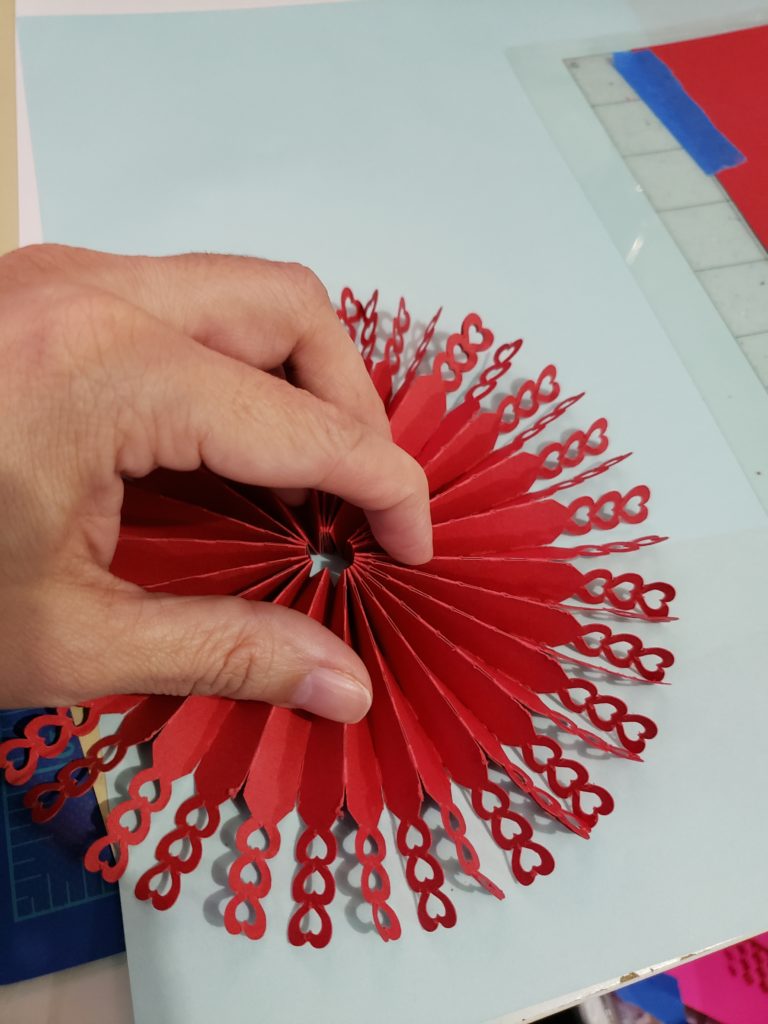
Grab your hot glue and dab quite a bit on the peaks and valleys at the end of your rosette.
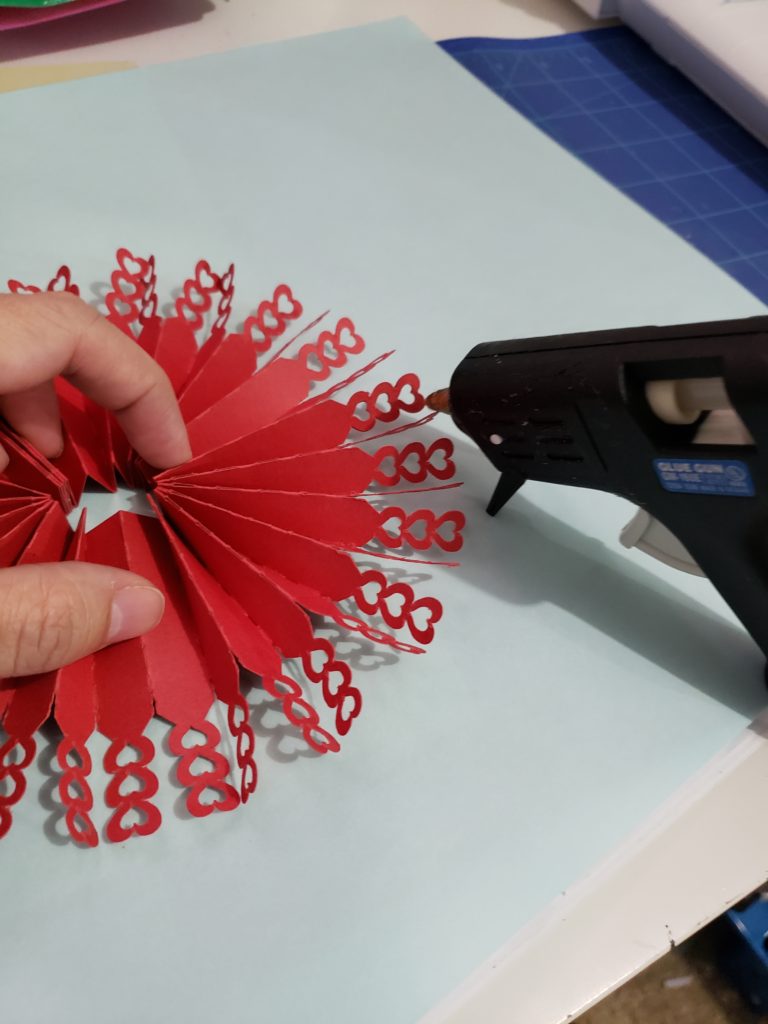
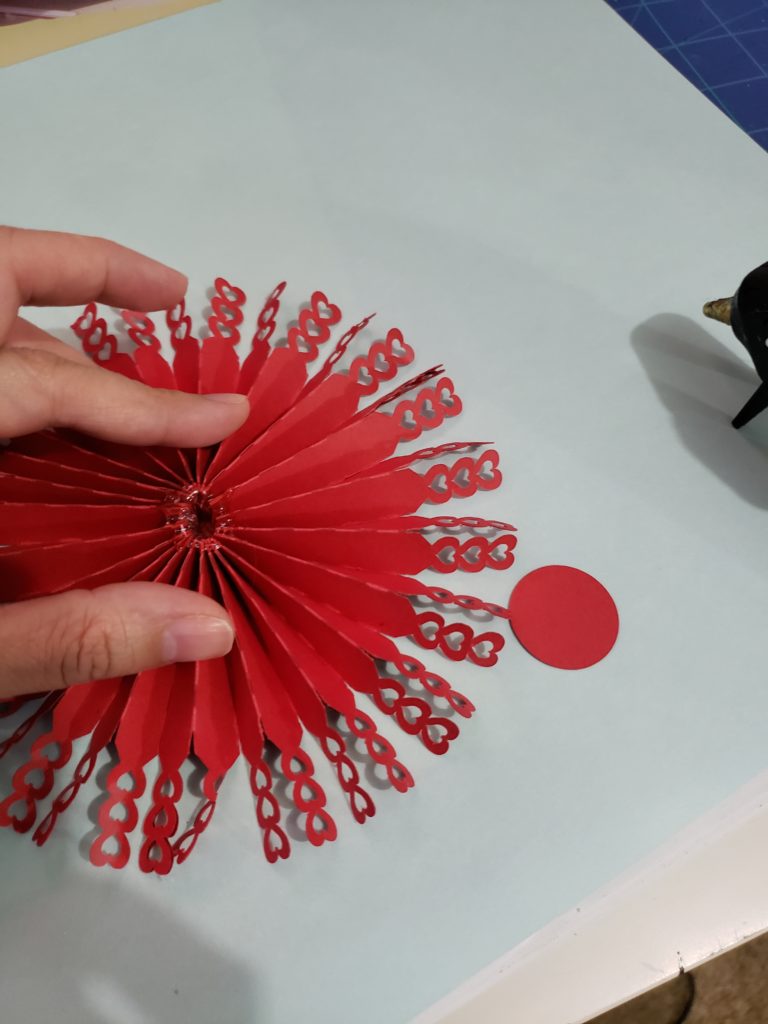
I quickly add one of my circles and added it right on to the hot glue. Give the hot glue to cool down for a few moments. Flip over and repeat the same process on the other side. Once the glue is fully cured the rosette will not move.
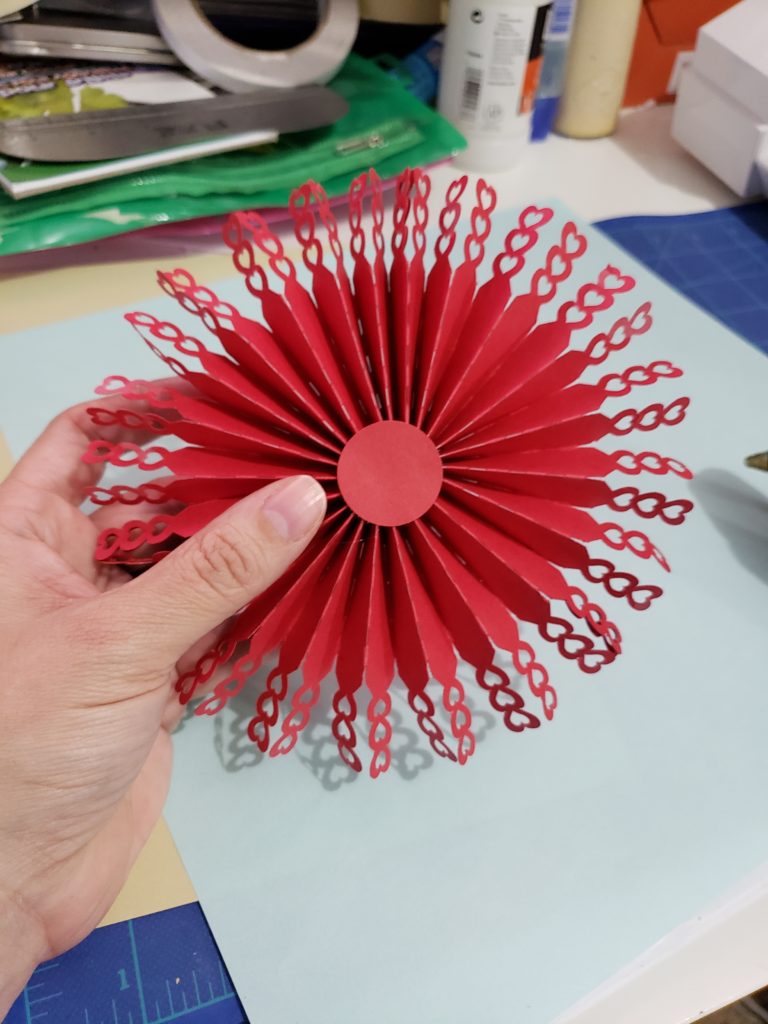
Time to add your embellishments. I added two foam adhesives to the front and the back of the white heart. In order to give the rosette dimension. Then placed it in the center of the rosette. I then grabbed my red heart placed a strip of double-sided tape then adhered my arrow to the back of it.
I wanted to make sure that the arrow was not going anywhere. then I placed the heart and arrow right on top of the white heart.
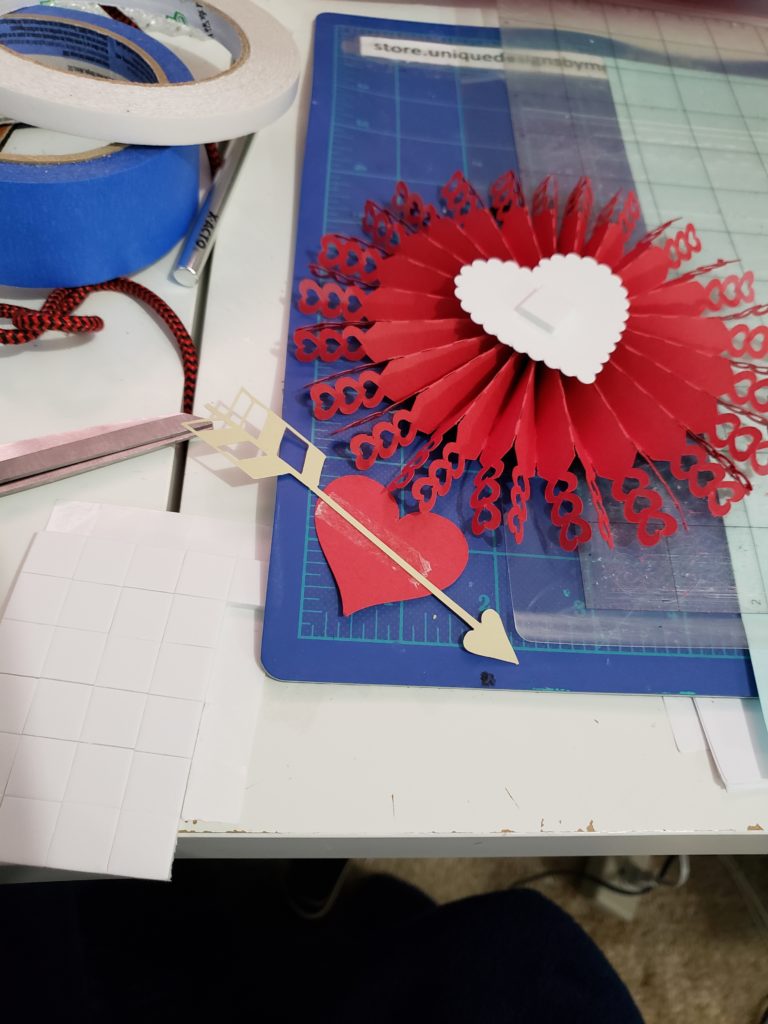
I repeated the same process to the back of the rosette.
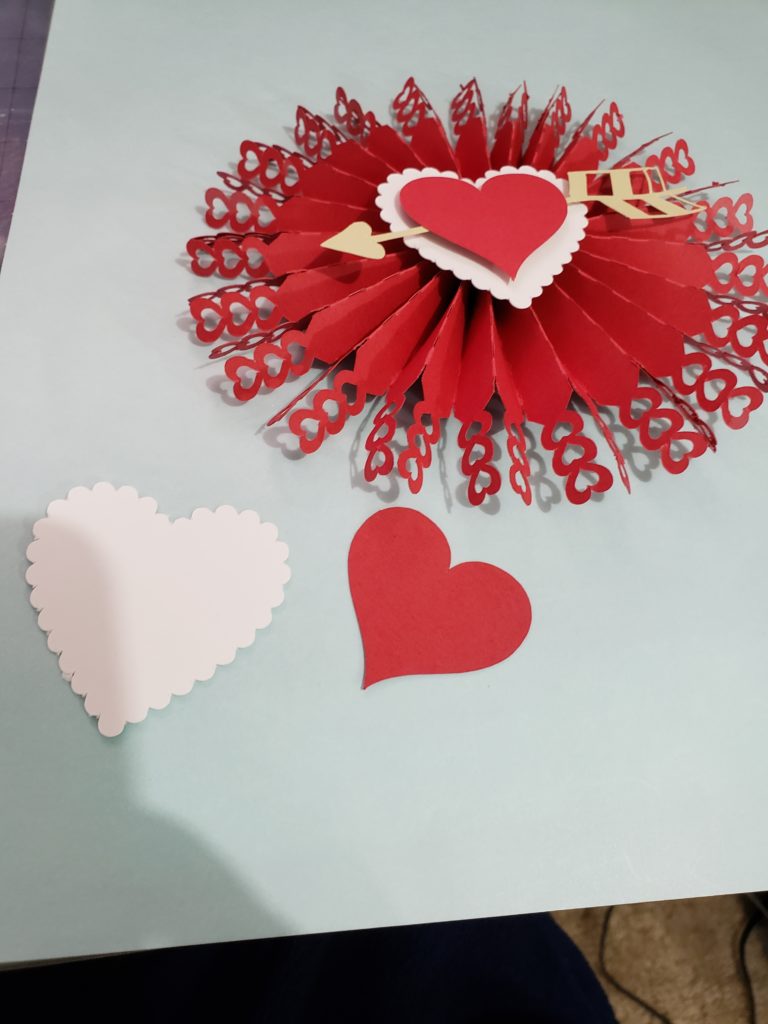
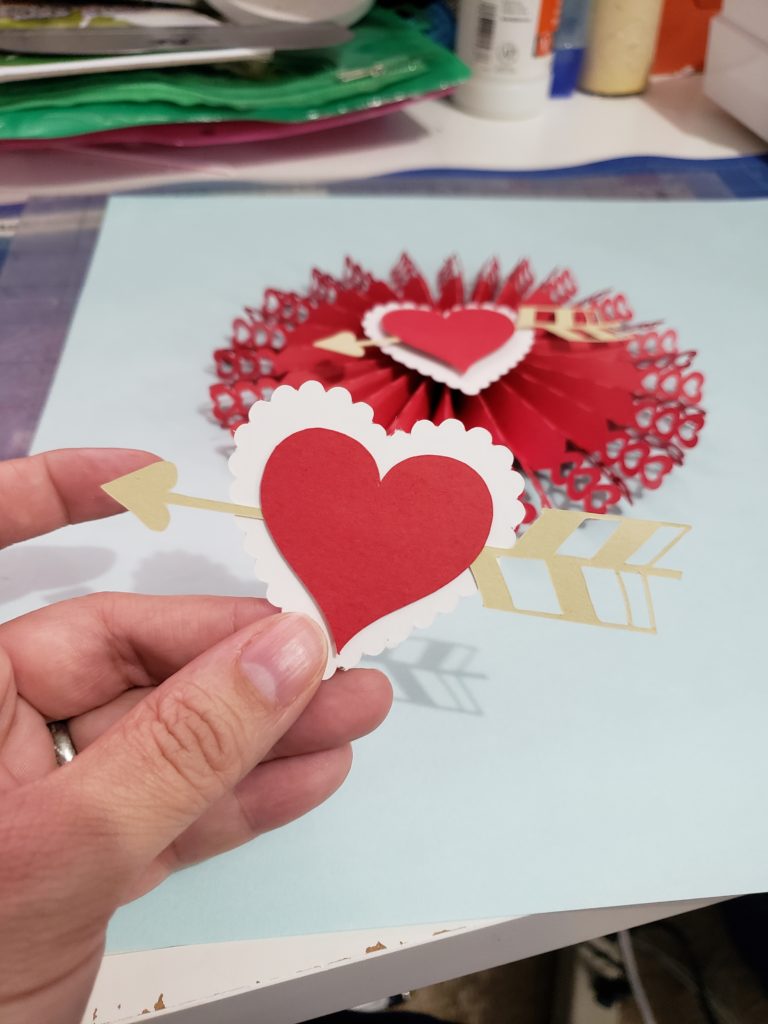
And you’re DONE! Repeat the same process to the other two and decorate for Valentine’s Day. What I love about these files is that they are resizable so these are also really neat on cards as embellishments or punch holes and string them as garland. Whatever you do with them have a good time making them, because they are a lot of fun.
